2023-02-10 기준으로 작성된 글이기 때문에 작성된 날을 기준으로 멀지 않은 미래에는 포스팅 내용에 대한 추가적인 검증이 필요합니다.
Jetbrains의 여러 IDE를 사용하고 있지만, 본 포스팅에서는 goland IDE를 사용하였습니다.
[환경]
- Node 4개로 구성된 Kubernetes Cluster 1개
- Kubernetes 설치 Node는 Docker 설치를 하지 않음(podman + buildah 사용 중)
- Jetbrains의 IDE 중 Goland를 사용하여 개발
- Docker가 설치되어 있는 CI 서버 (k8s node가 아닌 단순한 Docker 설치된 곳)
- Nexus Repository (Docker image)
[목표]
- Goland를 사용하여 Docker 환경에서 컴파일 + image 빌드
- Goland를 사용하여 image를 docker repository (nexus)에 push
- Goland를 사용하여 kubernetes에 deploy 하기
※ Kubernetes 환경 구축은 아래 포스팅을 확인해주세요
[Kubernetes] kubespary 를 사용한 k8s 설치 (Rocky9)
[시스템 구성] 1. 방화벽 해제 systemctl stop firewalld systemctl disable firewalld 2. SSH Key 생성 및 복사 ssh 생성 ( ※ Master Node 에서만 root 계정으로 진행 ! ) ssh-keygen -t rsa Master Node 에서 생성된 public key 를 Maste
hackerpark.tistory.com
※ Goland 환경 구축은 아래 포스팅을 확인해 주세요
[GO언어] Go 환경 변수 및 버전 관리하기 (GOROOT, GOPATH)
[이 포스팅은 Windows 환경을 기준으로 작성하였습니다.] GoLand 설치 이후 개발을 진행하던 도중 환경변수가 꼬이는 탓에 엄청난 삽질을 하고 결국 싹 밀고 다시 정리해서 해결하였다. 이 글을 통해
hackerpark.tistory.com
[Docker를 사용한 Compile 환경 구축]
1. 예제 코드(main.go) 작성
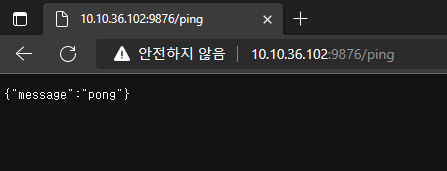
<여기서는 goland를 사용하기 때문에 간단한 restAPI 코드를 작성>
package main

import (
	"github.com/gin-gonic/gin"
)

func main() {
	r := gin.Default()
	r.GET("/ping", func(c *gin.Context) {
		c.JSON(200, gin.H{
			"message": "pong",
		})
	})

	r.Run(":9876") // port
}
2. Dockerfile 작성
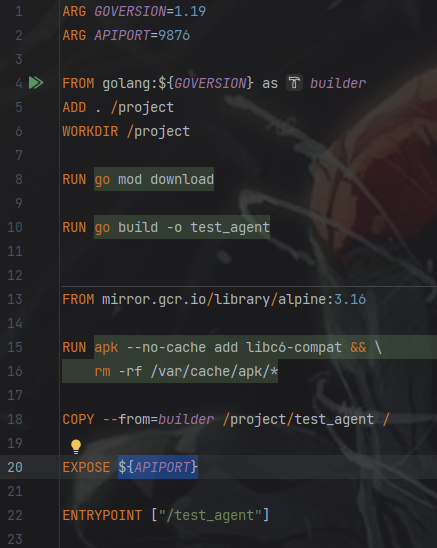
ARG GOVERSION=1.19
ARG APIPORT=9876

FROM golang:${GOVERSION} as builder
ADD . /project
WORKDIR /project

RUN go mod download

RUN go build -o test_agent

FROM mirror.gcr.io/library/alpine:3.16

RUN apk --no-cache add libc6-compat && \
    rm -rf /var/cache/apk/*

COPY --from=builder /project/test_agent /

EXPOSE ${APIPORT}

ENTRYPOINT ["/test_agent"]
▶ 해석 보기
line1~2: argument 선언 (GOVERSION, APIPORT)
line 4: 작업할 base image를 가져오고 builder stage로 설정
line 5: 현재 프로젝트의 파일들을 golang:1.19 image 안의 /prject디렉토리를 생성하면서 Copy
line 6: Dockerfile의 작업 directory를 /project로 변경
line 8: go mod의 package들을 image에 설치
line 10: go compile을 통해 test_agent 바이너리 생성
line 12: alpine 3.16 환경으로 작업할 image stage 변경
line 14~15: alpine(linux)3.16 stage에서 binary 실행에 필요한 package 설치 및 cache 삭제
line 17: builder stage에서 만들어진 test_agent 바이너리를 alpine3.16 state로 copy
line 19: restAPI의 port (9876)를 외부로 open
line 21: 새로 만들어진 image의 entrypoint를 test_agent 바이너리로 실행
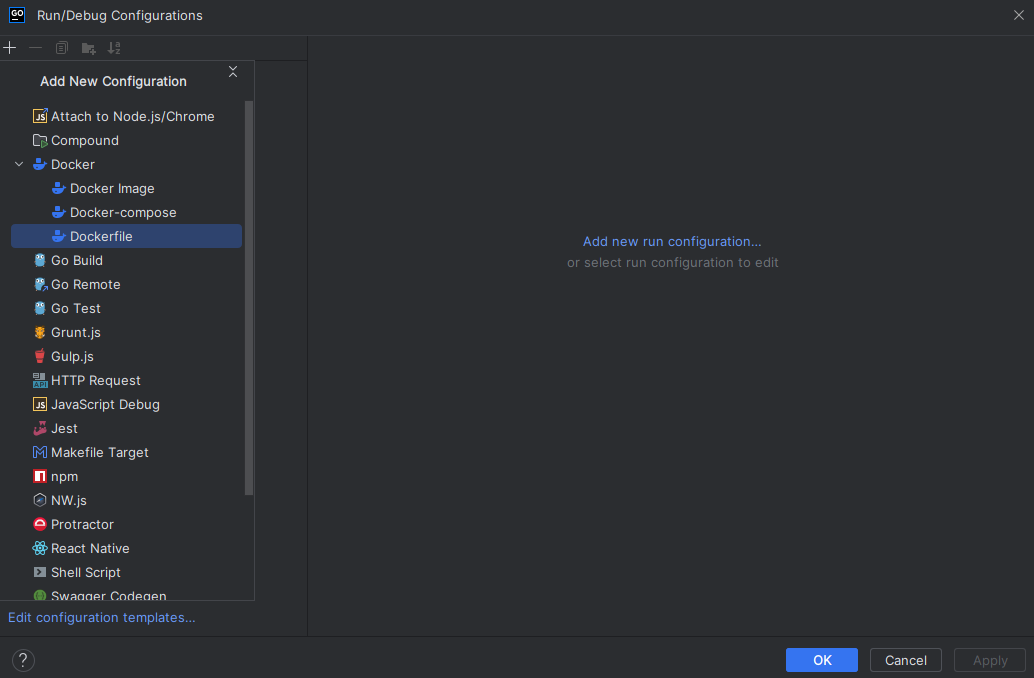
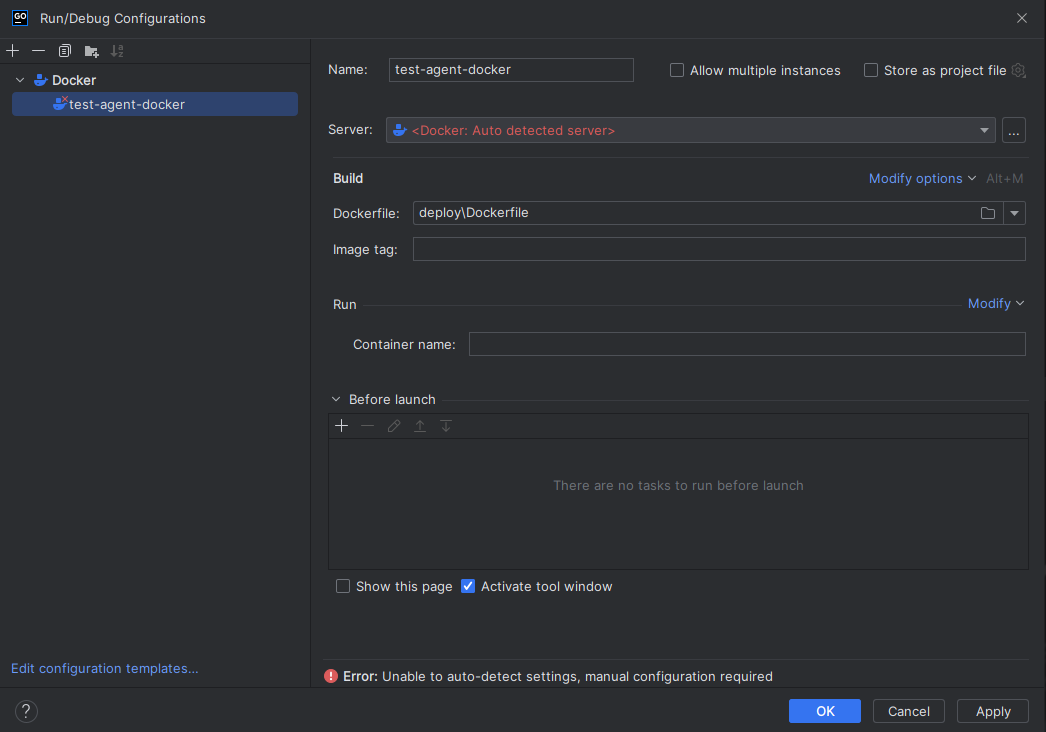
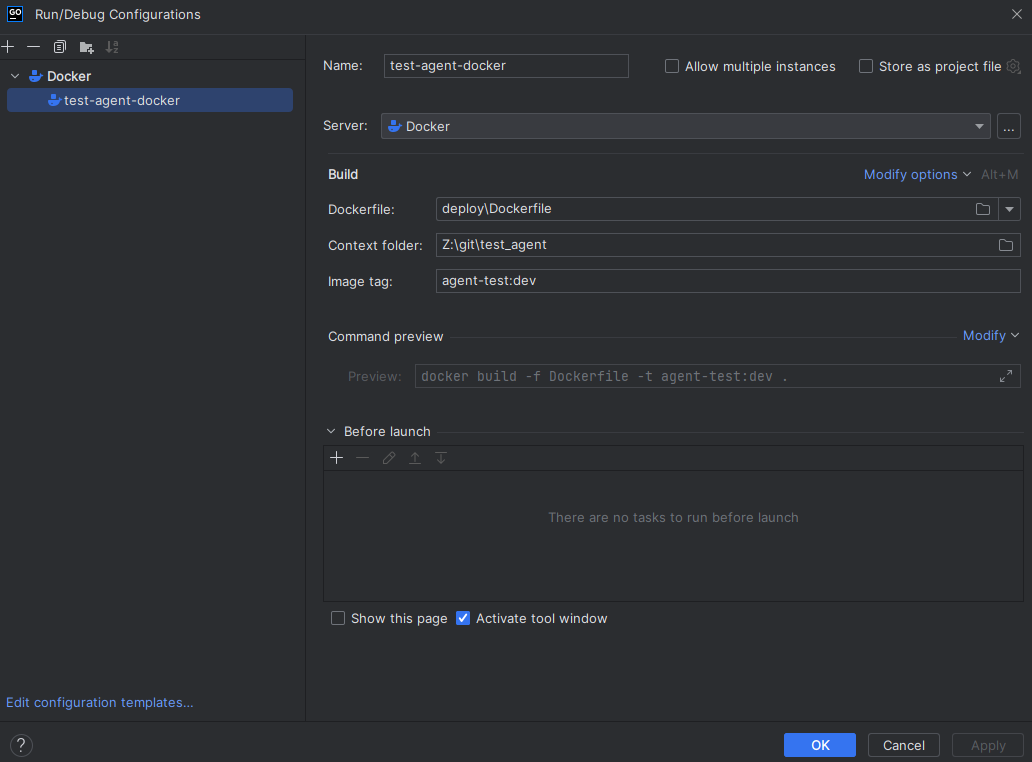
2. Run > Edit Configurations에서 Dockerfile 추가
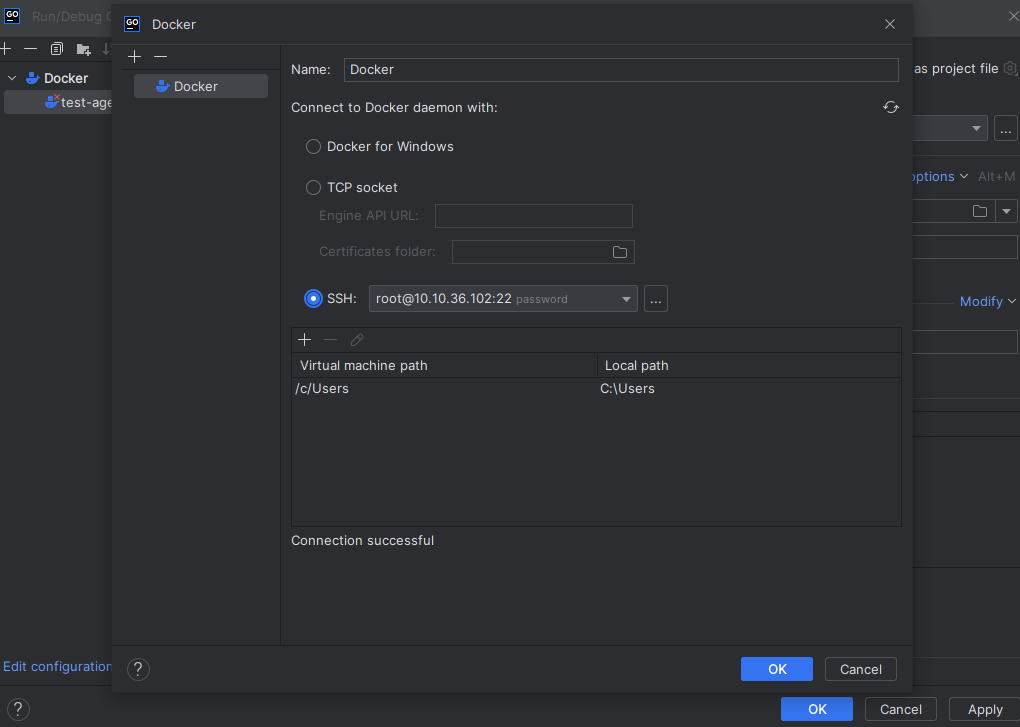
3. Server의 ... 을 클릭해서 Docker 추가
4. Docker 가 설치된 Server의 SSH 정보를 입력한다.
5. Docker 추가 설정
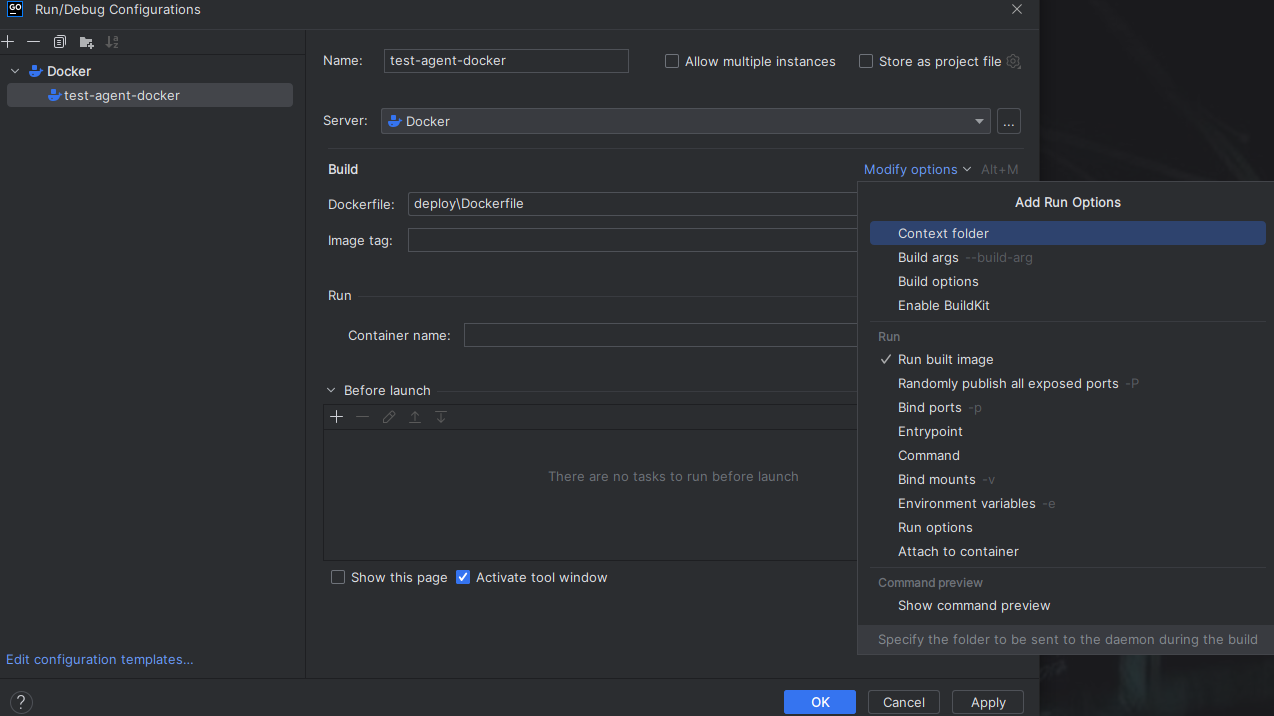
▶ Modify options를 확인하면 여러 옵션들을 확인할 수 있다.
- Context folder
→ Dockerfile을 사용한 image를 생성 시 image에 올릴 로컬파일들을 복사할 수 있는데, 기본적인 경로가 Dockerfile이 있는 폴더를 기준으로 한다.
문제는 image에서는 Dockerfile이 경로의 상위폴더에는 접근이 불가능하다는 것이다. (ex: ADD ../path / 이런 식의 접근이 안된다.)
이에 대한 해결 방안은 image 빌드시 context folder를 지정하여 dockerfile 경로가 아닌 다른 경로를 작업 dir로 지정하는 것이다.
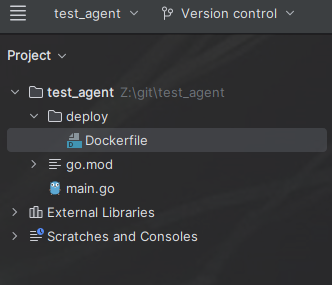

예를 들어 위와 같은 구조의 Dockerfile을 사용하여 프로젝트를 compile 하는 image 생성 시에는 context folder 경로를 test_agent 폴더로 지정해줘야 한다.
- Image tag
→ 생성할 image name + tag 를 입력한다. tag를 입력하지 않으면 자동으로 latest로 tag가 설정된다. (ex: agent_test:v0.1, agent_test, ...)
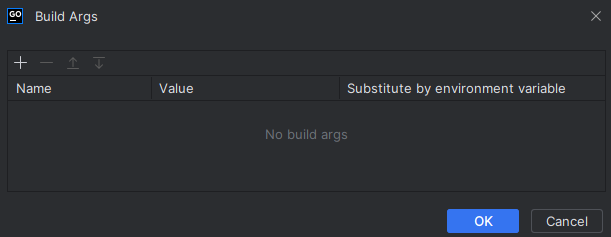
- Build args
→ Docker 빌드시 입력할 arg를 Name, Value 형식으로 설정한다.
- Build options
→ Docker 빌드시 추가할 option을 입력한다.
- Run built image (Container name)
→ image build가 성공적으로 마무리되면 해당 image를 실행할 container 이름을 설정한다. 해당 옵션을 설정하면 image build 완료 시 container가 생성되어 바로 실행된다.
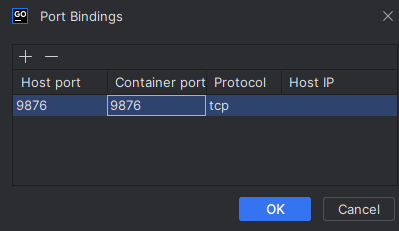
- Bind ports
→ Dockerfile에서 expose를 해도 Container의 Bind ports를 설정하지 않으면 외부로 port가 열리지 않는다. 따라서 외부로 포트포워딩을 Bind ports를 통해서 설정해야 한다.
- (기타 설정 생략) 최종 설정 확인

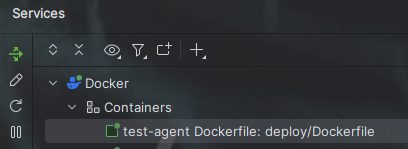
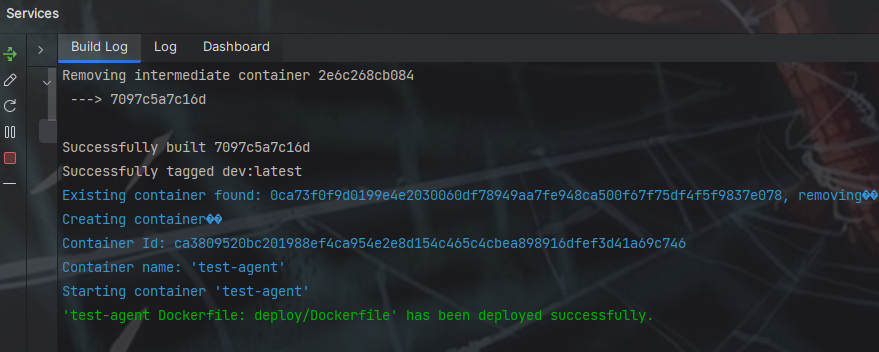
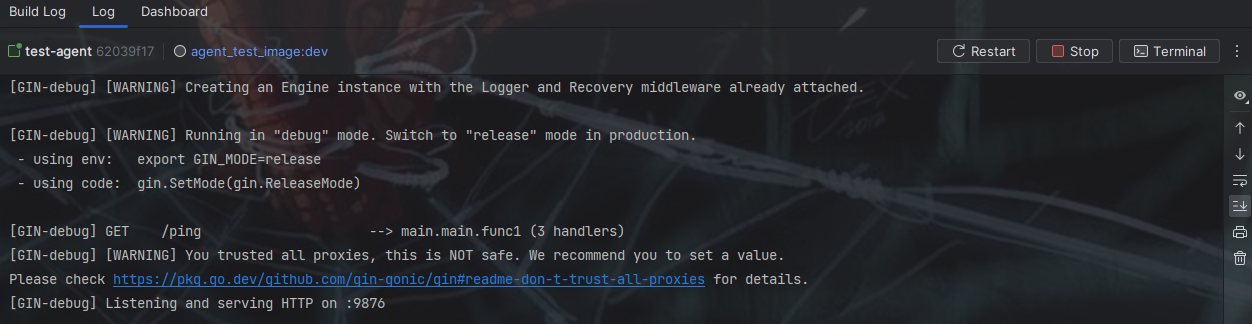
6. Docker Build & Container Run

[JetBrains IDE + Docker Repository (Nexus) 연동]
1. IDE의 File > Settings [Ctrl + Alt + s] > Build, Execution, Deployment > Docker > Docker Registry 선택 후 Docker Repository 추가
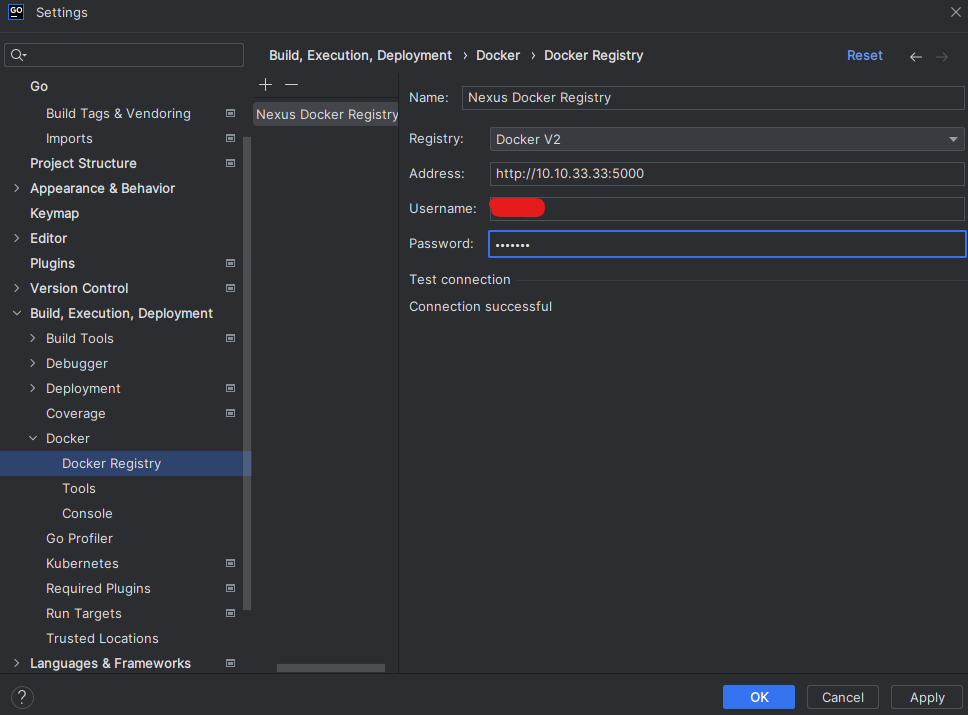
- Nexus의 경우 Docker V2를 선택하고 Address를 입력한다.
- Nexus의 계정을 입력한다.
- Connection successful 이 나오면 성공
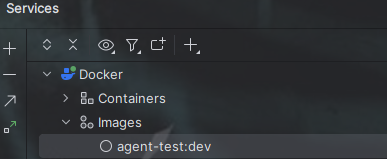
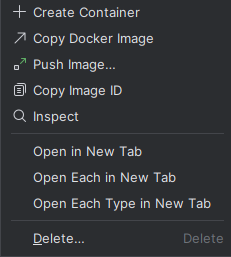
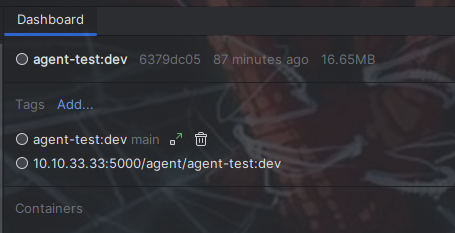
2. 좌측 하단의 Services > Docker > Images에서 image 우클릭 후 push 또는 image 클릭 시 나오는 Dashboard에서 Push Image 클릭

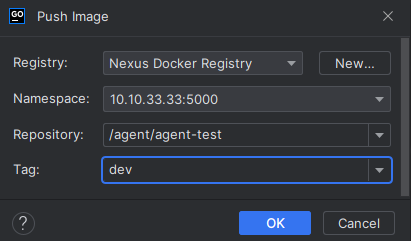
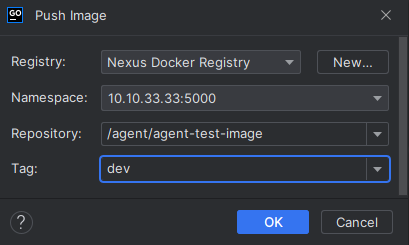
3. Push Image 설정 후 OK
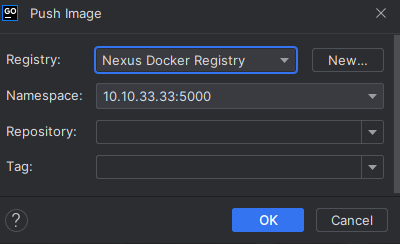
- 처음 설정해 놓은 Registry 가 입력되어 있다.
- Namespace는 Docker repository (Nexus)의 IP:Port 를 입력한다.
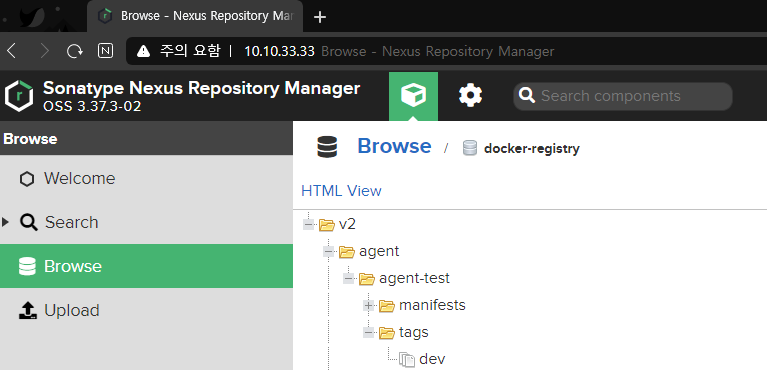
- Repository
→ ip:port 뒤에 붙을 repository의 경로 + push 하는 image의 이름을 입력한다.
- Tag
→ nexus repository에 저장할 image의 tag를 입력한다. (ex: v0.1, dev, beta, ...)
[JetBrains IDE + Kubernetes 연동 및 yaml 파일 배포하기]
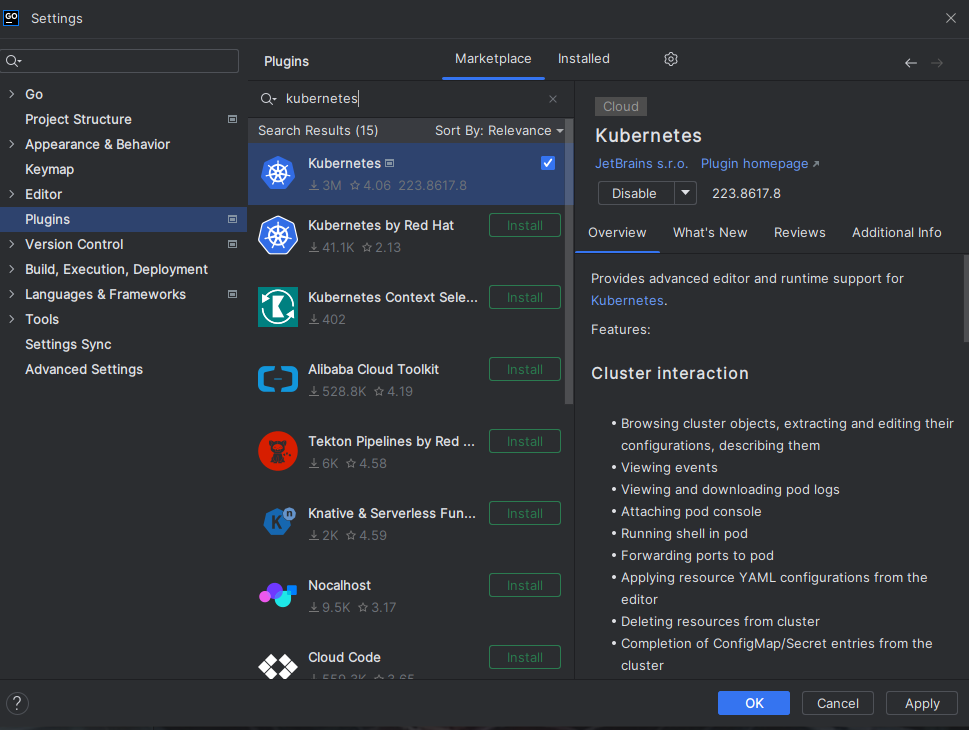
1. File > Settings [Ctrl + Alt + s ] > Plugins > Marketplace 에서 kubernetes 설치
2. IDE 환경에 맞는 kubectl 다운로드 (host 환경)
Install and Set Up kubectl on Windows
Before you begin You must use a kubectl version that is within one minor version difference of your cluster. For example, a v1.26 client can communicate with v1.25, v1.26, and v1.27 control planes. Using the latest compatible version of kubectl helps avoid
kubernetes.io
Install and Set Up kubectl on Linux
Before you begin You must use a kubectl version that is within one minor version difference of your cluster. For example, a v1.26 client can communicate with v1.25, v1.26, and v1.27 control planes. Using the latest compatible version of kubectl helps avoid
kubernetes.io
Install and Set Up kubectl on macOS
Before you begin You must use a kubectl version that is within one minor version difference of your cluster. For example, a v1.26 client can communicate with v1.25, v1.26, and v1.27 control planes. Using the latest compatible version of kubectl helps avoid
kubernetes.io
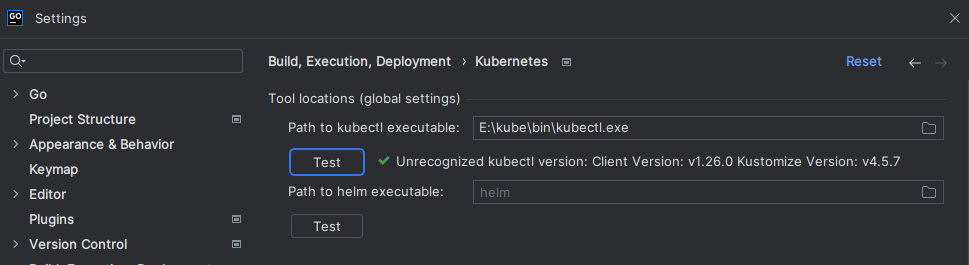
3. File > Settings [Ctrl + Alt + s] > Build, Execution, Deployment > Kubernetes 연동 설정
(kubernetes Tab이 안 보이면 IDE 재시작)
- 다운로드한 kubectl을 Path to kubectl executable에 등록
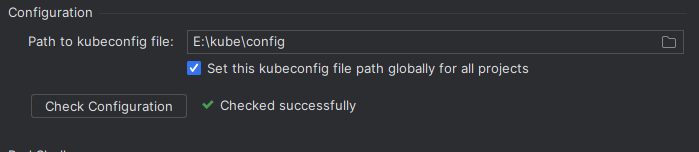
- Kubernetes Cluster의 config 파일을 등록 (kubernetes 설치된 Master(control_plane) 서버의 ~/.kube/config 경로 확인)
※ config 파일을 notepad++ 로 열어봤을 때 ip 부분이 127.0.0.1 로 되어있다면 Master(control_plane) 서버의 ip로 변경한다.
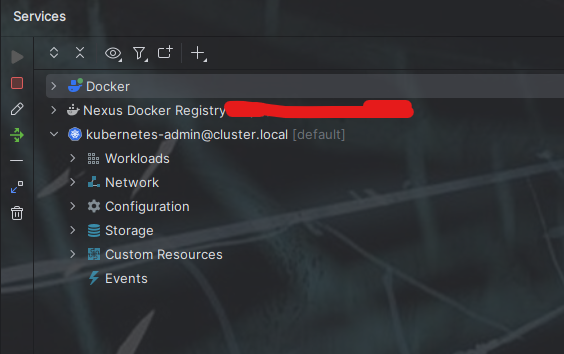
4. Services 목록에 Kubernetes가 추가됐는지 확인
5. yaml 파일 작성 (deploy/deployment_dev.yaml)
apiVersion: apps/v1
kind: Deployment
metadata:
  name: agent-test
  labels:
    app: agent-test
spec:
  replicas: 1
  selector:
    matchLabels:
      name: agent-test
  template:
    metadata:
      labels:
        name: agent-test
    spec:
      containers:
        - name: agent-test
          image: 10.10.33.33:5000/agent/agent-test:dev
          ports:
            - containerPort: 9876
              name: rest-api-port
              hostPort: 9876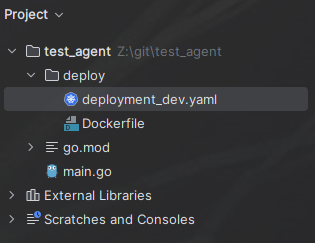
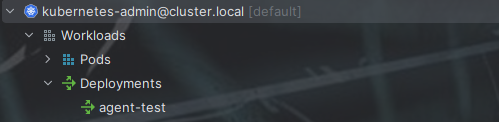
6. yaml 배포 (Apply)
- yaml 파일에 마우스 오버 시 나오는 초록색 Apply 버튼 클릭

- (Apply 버튼 안 나올 경우) yaml 파일 오른쪽 클릭 > Apply to Context ~~~ 클릭

- 확인
7. 배포된 yaml 삭제 (Delete)
- yaml 파일에 마우스 오버 시 나오는 초록+빨간색 Delete 버튼 클릭

- (Delete 버튼 안 나올 경우) yaml 파일 오른쪽 클릭 > Delete from Context ~~~ 클릭

기타 특이사항
- Podman을 사용하고 싶었지만 포스팅 날짜 기준으로 IDE와의 호환에 문제가 있었다.
연동에는 성공했으나 여러 가지 문제점(View가 제대로 안된다던지...)이 발생해서 Docker 서버를 사용하는 중이다.
추후에 Podman 호환작업을 Jetbrains에서 해준다면 Podman으로 갈아탈 의향이 있다. (그때 가서 다시 삽질 + 포스팅을...)
'DevOps' 카테고리의 다른 글
| [DevOps] Kubernetes에 Gitlab Runner 설치 및 연동하기 (Helm) (0) | 2023.05.16 |
|---|